

Blog
NetSuite for Professional Services Firms in India
NetSuite SRP for Indian services firms: resource planning, project accounting, time tracking, ASC 606 revenue…
8 min read
Read article →
NetSuite WMS is a module that extends NetSuite’s native inventory capabilities into full warehouse execution: bin-level tracking, directed putaway, mobile scanner workflows, and a structured pick-pack-ship process. If your operation runs on NetSuite core inventory today, you already have item and location tracking. What you do not have is control over what happens inside those locations: which bin a putaway goes to, which picker handles which wave, or whether your cycle count process is systematic or ad hoc. This guide covers the complete setup path for netsuite wms: how to structure your warehouse in the system, configure bins and putaway rules, run the pick-pack-ship workflow, integrate mobile devices, and decide when the module is actually worth enabling. The focus is practical configuration, not feature marketing.

NetSuite’s core inventory module tracks stock at the location level. You can see that a warehouse holds 200 units of SKU-A, and you can transfer between locations. What core inventory does not do is tell your warehouse staff where to put stock when it arrives, which bin to pick from first, or how to batch and sequence multiple orders for efficient fulfillment.
NetSuite WMS adds a layer of warehouse execution on top of that location record. The key differences are:
| Capability | Core Inventory | NetSuite WMS |
|---|---|---|
| Stock visibility | Location level | Bin level within locations |
| Receiving workflow | Manual receipt entry | Mobile-guided receiving with putaway task |
| Putaway logic | None: staff decides | Rule-based directed putaway |
| Pick process | Manual pick from sales order | Wave picking, task assignment, mobile-guided |
| Packing | Not tracked | Pack station with carton tracking |
| Cycle counting | Manual physical inventory | Scheduled bin-level cycle counts |
| Mobile integration | Not supported | Barcode scanner and RF device workflows |
The module also introduces the concept of warehouse tasks, which are discrete units of work (receive, putaway, pick, pack, replenish) that the system creates, assigns to workers, and tracks to completion. This task queue is what makes warehouse execution measurable instead of invisible.
For operations managing NetSuite inventory management across multiple storage zones, or for any site where pick accuracy and throughput are KPIs, WMS is the path to systematic control.
Before enabling WMS features, your location hierarchy needs to be correctly structured. NetSuite WMS operates within locations (warehouses or sub-warehouses), which are then subdivided into bins.
Go to Setup > Company > Enable Features > Items & Inventory. Check “Warehouse Management System” and “Bins”. Save. This unlocks bin management fields on location records and enables the WMS task engine. For a guided approach to activating and configuring WMS in your NetSuite account, Aaxonix’s NetSuite implementation services cover the full feature-enablement and setup sequence.
At the location level (Lists > Accounting > Locations), you will now see a WMS tab. Enable WMS for each location where you want bin-level tracking. Locations without WMS enabled continue to behave as standard NetSuite inventory locations.
Bins in NetSuite WMS represent physical storage positions: rack bays, shelf slots, floor positions, bulk zones, staging areas. Each bin is assigned to a location and has a bin number (the label you put on the physical position) and a bin type.
Bin types are defined at Setup > WMS > Bin Types. Common bin types to configure:
Bin numbering should follow a physical aisle-bay-level-position convention (e.g., A-01-03-L for Aisle A, Bay 1, Level 3, Left). This makes picker routing and bin audits significantly easier to manage.
For warehouses with hundreds or thousands of bin positions, manual creation is impractical. Use the bin import via Lists > Import/Export > Import CSV Records, selecting “Bins” as the record type. The required fields are location, bin number, and bin type. Additional fields include zone assignment, preferred putaway rank, and maximum quantity or weight. Oracle’s NetSuite WMS setup documentation covers the full list of supported import fields for bin records.
Zones group bins within a location for putaway and pick routing purposes. Typical zones include ambient, refrigerated, hazardous, high-value, and oversize. Zone assignment on a bin record is used by putaway rules and pick wave sequencing. Define zones at Setup > WMS > Zones before importing bins.
Directed putaway is the process by which the WMS tells a warehouse worker where to place stock after receiving, rather than leaving the decision to individual judgment. NetSuite WMS implements putaway through putaway rules, which evaluate incoming items against a set of criteria and return a target bin.
Navigate to Setup > WMS > Putaway Rules. Each rule has:
A typical rule stack for a wholesale distributor might look like this:
| Priority | Condition | Target Strategy |
|---|---|---|
| 1 | Item = fast-mover flag | Fixed zone: Pick Face A |
| 2 | Item class = oversized | Zone: Bulk Floor |
| 3 | Item = hazardous material | Fixed bin: HAZ-01 |
| 4 | Default (no condition) | Zone: Reserve Racking, capacity-fill |
When a receipt is confirmed, the WMS engine evaluates rules in priority order and generates a putaway task directing the worker to a specific bin. If the target bin is full, the system falls through to the next applicable rule.
When a pick bin falls below a configured minimum quantity, WMS can automatically generate a replenishment task to move stock from a reserve bin to the pick face. This keeps pick faces stocked without requiring manual monitoring. Replenishment rules are configured per item or item group, specifying minimum quantity, maximum quantity, and the reserve zone to pull from. This ties directly into systematic demand planning and replenishment at the purchasing level.
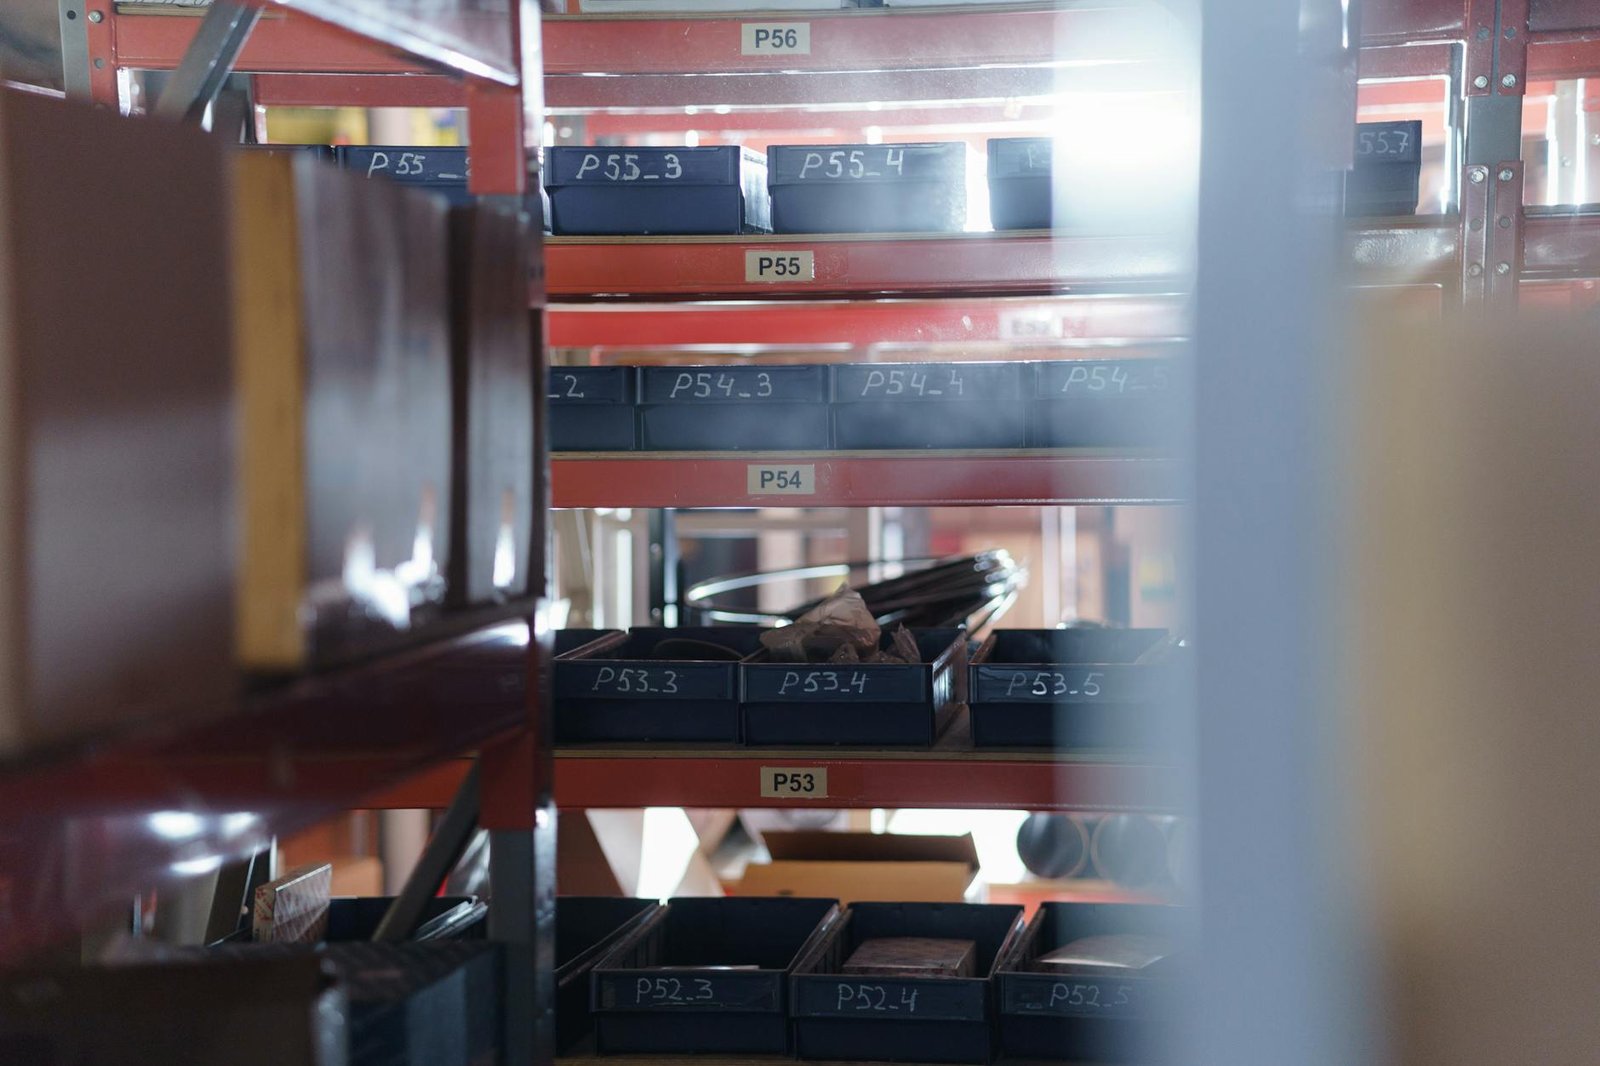
The pick-pack-ship process in NetSuite WMS is structured as a series of tasks that move from order release through physical fulfillment to carrier handoff. Each stage is tracked in the system and visible to warehouse supervisors in real time.
Sales orders approved for fulfillment are queued in the wave planner (Transactions > WMS > Wave Planning). A wave is a batch of orders grouped for simultaneous picking. Grouping criteria can include ship date, carrier, zone, customer priority, or order type. Oracle’s wave planning reference in NetSuite Help details all available grouping and release options.
Wave planning decisions significantly affect pick efficiency. Grouping by pick zone reduces picker travel. Grouping by carrier cutoff time ensures time-sensitive shipments get picked first. The wave planner lets supervisors review order counts, line counts, and item quantities before releasing a wave to the floor.
When a wave is released, the system generates individual pick tasks and assigns them to warehouse workers based on their zone or device assignment. Each pick task specifies:
Workers confirm picks on mobile devices by scanning the bin barcode and item barcode. The system validates both scans before advancing to the next pick instruction. Short picks (bin is empty or quantity is insufficient) trigger an exception task that routes to a supervisor queue.
After picking, items move to the pack station. Pack station workflow in NetSuite WMS records which items go into which carton, assigns a carton ID, and optionally prints carton labels. For operations with specific cartonization requirements (dimensional weight compliance, carrier-specific labeling), this step captures the data needed for accurate freight billing.
The pack station operator scans each item into a carton. When the carton is complete, the system updates the fulfillment record with the packed quantities. Multiple cartons per order are handled natively.
After packing, the fulfillment is ready for ship confirmation. This step closes the warehouse task, updates inventory records, and triggers the NetSuite shipping integration (EasyPost, ShipStation, or a custom carrier connector) to generate tracking numbers. The sales order status advances to “Shipped” and invoice generation can proceed immediately.
For NetSuite for wholesale distributors handling high daily order volumes, the structured wave-pick-pack-ship flow is what separates a 400-order-per-day operation from a 150-order-per-day one using the same physical footprint.
NetSuite WMS is built around mobile device operation. The WMS mobile interface runs in a browser on Android or iOS devices, or on dedicated RF barcode scanners running a browser client. There is no separate native app to install: the WMS screens are web-based and optimized for small-screen, keypad-first, or scanner-first interaction.
Each mobile device needs a NetSuite WMS user login with a role that includes WMS task permissions. The WMS role is separate from the standard warehouse operator role. Configure it at Setup > Users/Roles > Manage Roles, using the “WMS Mobile User” base role as a starting point.
Devices connect via the standard NetSuite URL. Most deployments bookmark the WMS mobile landing page (which shows the worker’s current task queue) on each device. Batch scanning (scanning multiple items without waiting for confirmation on each) is supported for receiving workflows where item quantities are large.
For scanning to work correctly, items, bins, and cartons need barcode labels. NetSuite WMS works with Code 128, Code 39, QR, and GS1-128 barcodes. Item barcodes must match the UPC/EAN or internal item number configured on the item record. Bin barcodes are generated from the bin number field. For operations shipping to large retailers or using carrier-compliant shipping labels, the GS1 barcode standards define the encoding rules for SSCC and GS1-128 carton labels.
Label printing is typically triggered from the receiving workflow (item labels) or pack station (carton labels). NetSuite supports ZPL-compatible label printing via its BartenderOnline or ZPL template integrations. For Zebra printer deployments, ZPL templates are the standard approach.
NetSuite WMS does not have a native offline mode. Workers on the floor need a stable Wi-Fi connection. For warehouses with dead zones, this is an infrastructure requirement that must be resolved before go-live, not after. A WMS rollout that stalls because racking blocks the Wi-Fi signal is a common and avoidable delay.
Cycle counting in NetSuite WMS replaces annual physical inventory with a continuous rolling count program. Rather than shutting down operations for a full count, you count a subset of bins on a scheduled basis throughout the year.
Cycle count schedules are defined at Setup > WMS > Cycle Count Schedules. You assign bins or zones to a count frequency (daily, weekly, monthly, quarterly). High-velocity pick bins typically get weekly counts. Reserve racking gets monthly or quarterly counts. Bins that have not been touched in 90 days get scheduled automatically.
A common classification is ABC: A-class items (high value or high velocity) counted monthly, B-class quarterly, C-class semi-annually. NetSuite does not enforce ABC classification automatically; you apply it by assigning bins or item groups to different count schedule records.
When a count is due, the system generates a count task and assigns it to a counter. The counter navigates to the bin, scans the bin barcode to confirm location, and counts the physical quantity of each item. The WMS records the counted quantity without revealing the system-on-hand quantity to the counter (blind count), which is the correct audit method.
After submission, the system compares counted quantity to on-hand. Variances above a configured threshold (for example, more than 2 units or more than 5% of on-hand) are flagged for recount before adjustment. Approved adjustments create inventory adjustment transactions in NetSuite, maintaining a full audit trail.
NetSuite WMS includes a cycle count accuracy report that shows variance by bin, zone, item class, and counter over time. Operations targeting 99.5% inventory accuracy should review this report weekly during the first 90 days post-go-live. Variance patterns by zone often reveal process issues (wrong putaway, undocumented relocations) rather than actual count errors.
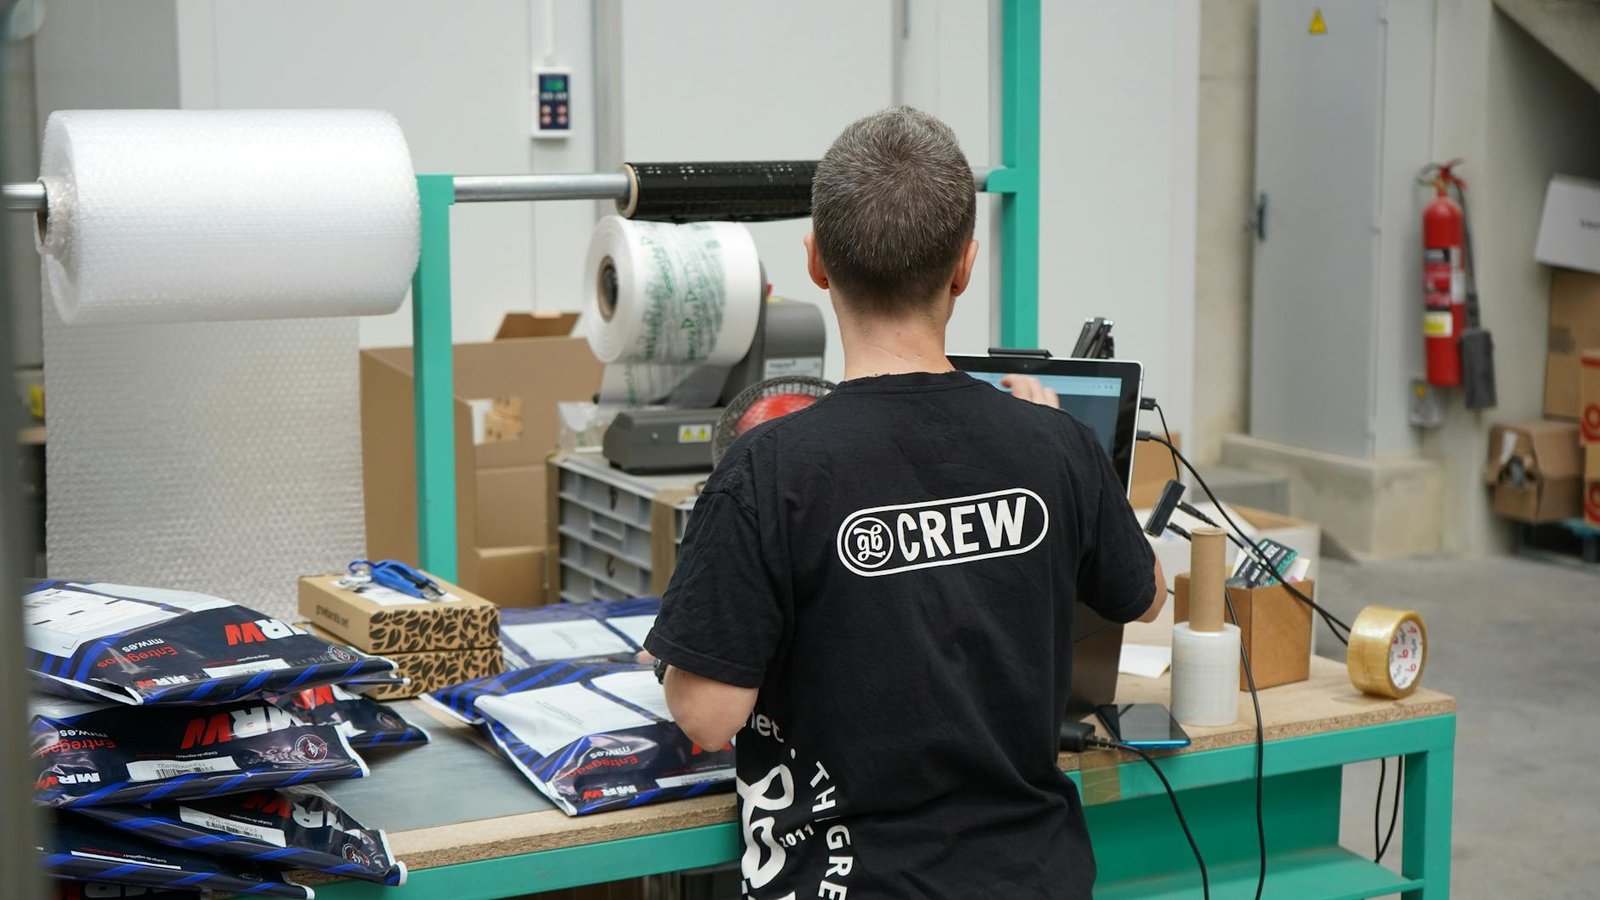
Enabling WMS adds setup complexity, requires mobile hardware, and changes how every warehouse task is executed. It is not the right move for every NetSuite user. The decision should be based on specific operational conditions, not on feature availability.
The practical implementation sequence for a WMS go-live is: enable features in a sandbox first, complete bin structure design, import bins, configure putaway rules in sandbox, run a test wave with paper-based simulated picks, then deploy mobile hardware and run parallel operations (WMS tasks plus paper backup) for two weeks before cutting over fully. Skipping sandbox testing or skipping the parallel run period are the two most common causes of go-live failures.
Plan for four to eight weeks from feature enablement to production go-live for a mid-size warehouse (10,000 to 50,000 sq ft, 5 to 20 warehouse staff). Larger sites with complex putaway rules, multiple zones, or 3PL integrations typically need 12 to 16 weeks.
Does NetSuite WMS require a separate license from NetSuite inventory?
Yes. NetSuite WMS is a separate module with its own licensing cost, added on top of the base NetSuite ERP license. It is not included in the standard inventory management feature set. Pricing is typically negotiated as a per-user or per-location add-on during the initial NetSuite contract or at renewal. You should confirm whether your current contract includes WMS before investing in setup or hardware, as some bundle packages include it and others do not.
Can you run NetSuite WMS in one warehouse location while using core inventory in another?
Yes. WMS is enabled at the location level, not the account level. You can have one location fully running on WMS with bin tracking, directed putaway, and mobile tasks, while other locations in the same NetSuite account continue using standard location-level inventory. This is useful for a phased rollout where you pilot WMS in one site before expanding, or where a central distribution center needs WMS but smaller satellite locations do not.
What mobile hardware works with NetSuite WMS?
NetSuite WMS runs on any device with a modern browser and Wi-Fi connectivity. Common deployments use Android handheld barcode scanners (Zebra TC-series is the most common), tablets at pack stations, and iOS devices for supervisors. Dedicated Windows CE or Windows Mobile RF units are not supported because they cannot run modern browsers. For barcode scanning on consumer devices, external Bluetooth scanners (like the Opticon OPN-series or Socket Mobile) work with iOS and Android tablets where a built-in scanner is not available.
How does NetSuite WMS handle lot and serial number tracking at the bin level?
NetSuite WMS integrates with the standard lot and serial number tracking features. During receiving, the worker scans or enters the lot number, which is then tied to the specific bin where the stock is placed. During picking, the system directs the picker to the bin holding the required lot (FEFO for lot-tracked items is configurable) and requires a lot number scan confirmation before advancing. Serial-tracked items require one scan per unit. Cycle counts also capture lot numbers per bin, so the inventory audit trail shows lot location history.
What is the difference between NetSuite WMS and a third-party WMS integrated with NetSuite?
NetSuite WMS is native, meaning it shares the same database as orders, inventory, and financials with no synchronization lag. A third-party WMS (Manhattan, HighJump, Infor WMS) connected via integration introduces a sync layer that can create timing issues between inventory on hand in the WMS and the ERP. Native WMS is the right choice for most mid-market operations. Third-party WMS makes sense only when you need capabilities that NetSuite WMS does not support, such as sophisticated slotting optimization, voice-directed picking, or large-scale 3PL multi-client billing. For most companies moving off spreadsheets or a basic WMS, NetSuite native WMS is sufficient.
Aaxonix is a certified NetSuite implementation partner with hands-on WMS deployments across wholesale distribution, manufacturing, and 3PL operations. Book a free consultation and get a scoped WMS setup plan covering your bin structure, putaway rules, and go-live timeline within 48 hours.
Book a free consultationNetSuite WMS gives warehouse operations the same level of systematic control that NetSuite already provides for orders and financials. The setup work is real: bin structure design, putaway rules, mobile hardware, and staff training all take time. But the payoff, pick accuracy above 99.5%, real-time bin-level inventory, and measurable throughput per worker, is not achievable by adding headcount or manual procedures. If your operation is outgrowing core inventory, the configuration path described here is where to start.
Tell us what you are working through and a senior architect from our team will get back to you with a straight answer, usually within a couple of working days. No bot, no hard sell.
A senior architect will get back to you at , usually within a couple of working days. Worth checking your spam folder, just in case.
NetSuite SRP for Indian services firms: resource planning, project accounting, time tracking, ASC 606 revenue…

Integrate Zoho CRM with WhatsApp Business API: send templates, receive leads, track conversations, and compare…

Map Zoho One feature coverage across CRM, HR, support, analytics, productivity, and finance. See which…
Tell us what you are actually trying to do. You will get a straight answer from a senior architect who has done this before, not a sales rep.
A senior architect will get back to you at , usually within a couple of working days. Worth checking your spam folder, just in case.
Ask it now and a senior architect will get back to you, usually within a couple of working days. It goes to our team, not a mailing list.
A senior architect will get back to you at , usually within a couple of working days. Worth checking your spam folder, just in case.