

Blog
Zoho Desk and Slack Integration: Escalation Alerts, Ticket Updates, and Agent Collaboration
Connect Zoho Desk with Slack for real-time ticket alerts, SLA breach escalations, channel-per-department routing, and…
12 min read
Read article →
NetSuite bank reconciliation is the process of matching every transaction in your NetSuite general ledger bank account against the corresponding line on your bank statement, then confirming the two balances agree before you lock the accounting period. Done correctly, it catches posting errors, prevents duplicate payments, and gives auditors a clean, time-stamped record of who approved what and when. Done manually in a spreadsheet, it consumes several hours of accountant time per account per month and introduces transcription risk at every step. This guide covers the full workflow inside NetSuite financial management: bank feed connectivity, automated matching configuration, foreign currency handling, period-end sign-off, and the fixes for the errors teams hit most often.
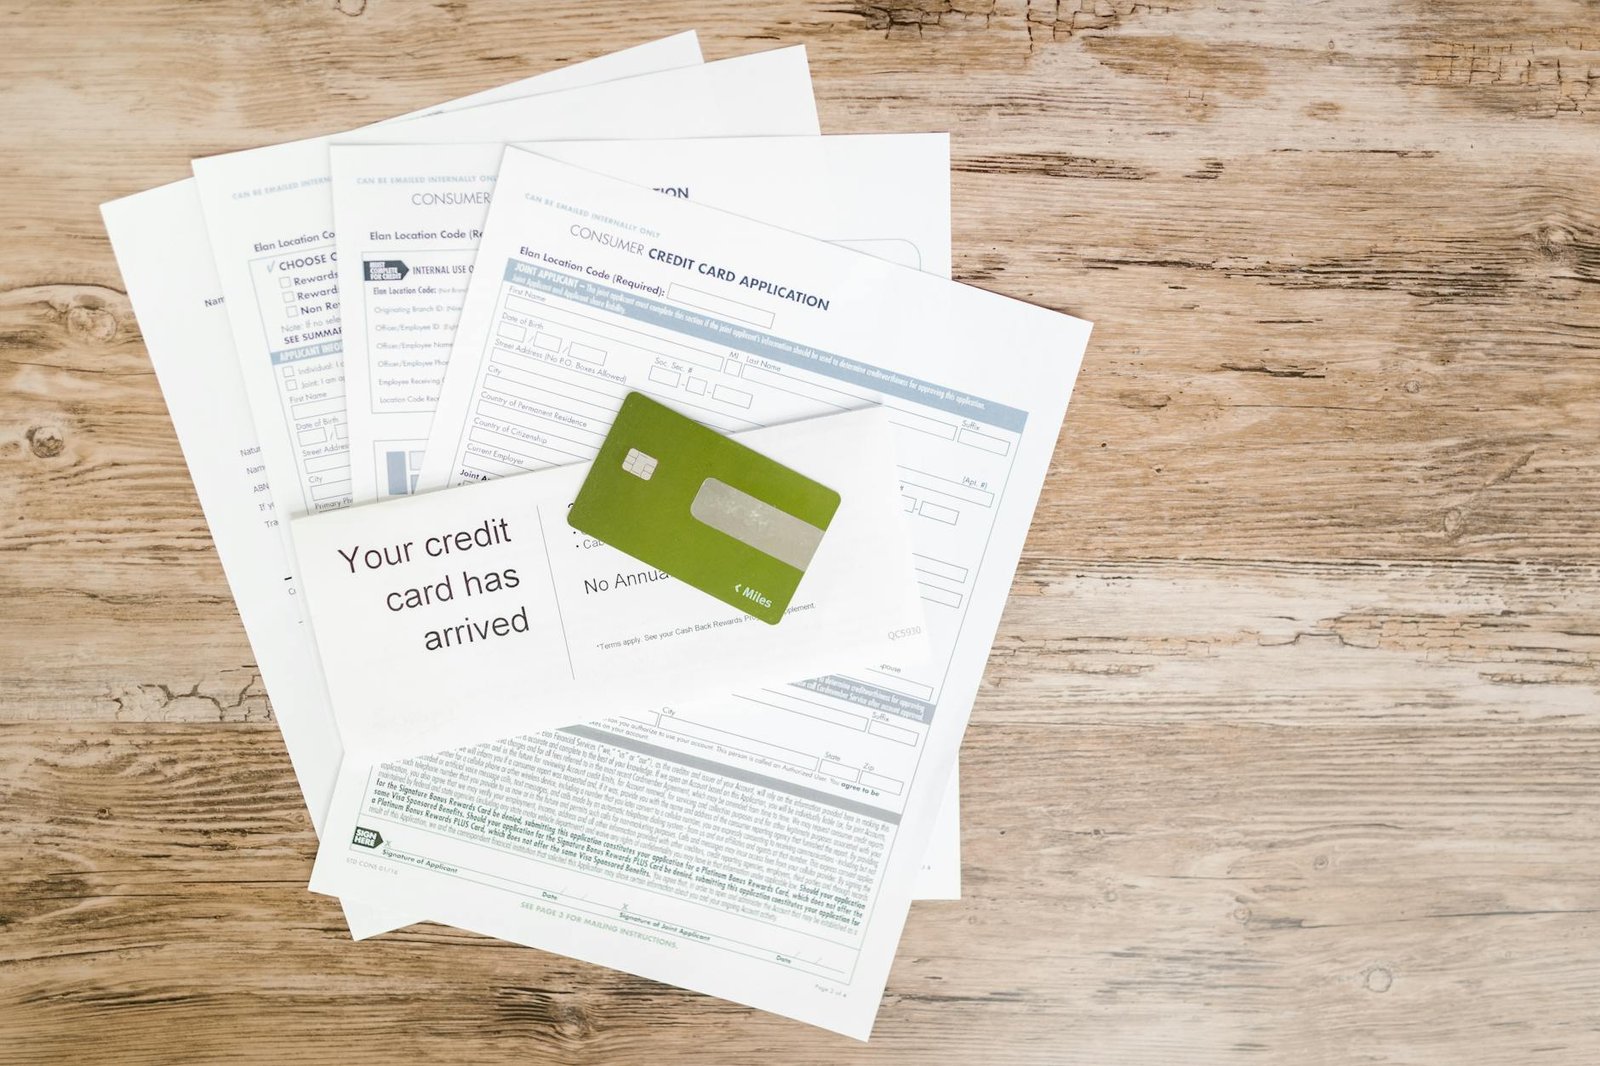
Bank reconciliation in NetSuite compares the ending balance on a bank or credit card statement with the balance recorded in the corresponding subsidiary ledger account. The module lives under Transactions > Bank > Reconcile Bank Statement. Each time you open a reconciliation, NetSuite pulls all uncleared transactions from the GL account and presents them alongside the imported or manually entered bank statement lines.
The process matters for three concrete reasons. First, the GL balance and the bank balance almost never agree on the statement date because of timing differences: checks issued but not yet cleared, deposits in transit, and bank fees posted directly by the institution. Reconciliation surfaces each of those differences and explains them. Second, any unexplained variance signals either a missing transaction, a duplicate, or an entry posted to the wrong account. Catching those before period lock is far cheaper than raising a correcting journal entry in a closed period and getting sign-off from a controller. Third, most audit frameworks, including SOX Section 404 for US-listed companies and ISAE 3402 for service organizations, require documented, signed reconciliations for every material bank account each month. NetSuite stores the sign-off timestamp, the user ID, and the final balanced amounts as part of the transaction record, which satisfies that requirement without additional paperwork.
The reconciliation module works across all account types: checking, savings, foreign currency accounts, credit cards, and petty cash. It does not work for accounts classified as “Other Asset” or “Other Liability” in the chart of accounts; those require manual journal review outside the bank reconciliation workflow. For a full reference on the reconciliation screen and its fields, see the Oracle NetSuite bank reconciliation documentation.
NetSuite supports two methods for getting bank statement data into the system: direct bank feeds via an aggregation provider (SuiteApp-based) and manual file import using BAI2, OFX, QFX, or CSV formats.
The Bank Feeds SuiteApp, available from the SuiteApp Marketplace at no additional license cost for most NetSuite editions, connects to financial institutions through a data aggregation layer. Setup steps are as follows:
Once connected, transactions appear in the “Bank Statement” column of the reconciliation screen automatically, typically with a one-business-day lag from the posting date at the bank. For full institution coverage and SuiteApp prerequisites, refer to the NetSuite Bank Feeds setup guide in the Oracle help center.
For institutions not covered by the direct feed, or for organizations with security policies prohibiting credential-based aggregation, the file import path works as follows:
A practical note: CSV imports require a field-mapping template. Build the template once per bank format and save it under the import profile so subsequent uploads require no re-mapping.
After bank statement data is loaded, NetSuite’s automated matching engine compares each statement line against uncleared GL transactions. The matching logic is configurable through Setup > Accounting > Accounting Preferences > Bank Reconciliation section.
| Criterion | What It Controls | Recommended Default |
|---|---|---|
| Amount tolerance (absolute) | Maximum dollar difference allowed for a match | $0.00 for payments; $0.01 for bank fees |
| Amount tolerance (percentage) | Maximum percentage difference | 0% for high-value wire transfers; 0.5% for small recurring charges |
| Date range (days) | How many days before/after the statement date to search for a GL match | 5 days for checks; 2 days for ACH and wires |
| Reference number match | Matches check number, wire reference, or payment ID | Enabled; required for checks |
| Payee/description match | Fuzzy-matches transaction description against vendor name | Optional; useful for recurring utility payments |
To run automated matching, open a reconciliation session and click “Auto Match.” NetSuite executes the matching rules in priority order: exact amount plus exact reference number first, then amount within tolerance plus date within range, then description-based fuzzy match. Transactions that satisfy the top rule are marked “Matched” immediately. Those that fall only within looser criteria are flagged as “Suggested Match” and require one-click human confirmation before being finalized.
NetSuite supports matching one bank statement line to multiple GL transactions (common when a vendor consolidates several invoices into a single ACH debit) and matching multiple bank lines to a single GL transaction (less common but occurs with split deposits). To use this, select the relevant lines on both sides of the reconciliation screen and click “Match Selected.” NetSuite creates a matching group and marks all selected lines as cleared.

After auto-match runs, the remaining unmatched items fall into two categories: GL transactions with no corresponding bank line (outstanding checks, deposits in transit) and bank lines with no GL transaction (bank service charges, interest credits, NSF fees, wire fees).
These are timing differences and require no immediate action. They appear on the reconciliation as uncleared items in the GL column. If a check is still outstanding after 90 days, most finance policies require either re-issuance or a stale-check journal entry. NetSuite does not automate that decision, but the aged uncleared item report (Reports > Banking > Bank Reconciliation Summary) lists every outstanding item with its age, making the review straightforward.
Service charges, interest income, wire fees, and NSF charges appear on the bank statement but have no GL entry because they were never entered as a bill or payment inside NetSuite. To handle them:
For organizations with dozens of bank-fee lines per month, consider setting up a recurring journal entry template for the standard monthly service charge so the GL entry posts automatically on the first of each month and auto-matches against the bank feed without manual intervention.
Capital expenditure payments visible on the bank statement should already exist as vendor payments in NetSuite linked to a capital account. If they appear unmatched, the most common cause is that the purchase was posted directly to an expense account rather than a fixed asset account. Cross-reference the fixed asset transactions register before creating a correcting journal entry, since reclassifying the posting affects depreciation schedules going forward.
Organizations operating across multiple countries maintain bank accounts denominated in currencies other than their functional currency. NetSuite handles these through the multi-currency module, and the reconciliation workflow has specific behavior for foreign currency accounts.
When a payment is entered in a foreign currency, NetSuite records two values: the transaction amount in the foreign currency and the equivalent in the functional currency using the exchange rate on the transaction date. The GL account balance displayed in NetSuite is always in the functional currency.
At period end, if the exchange rate has changed since the original transactions were posted, the functional currency equivalent of the foreign currency bank balance differs from the sum of the individual transaction functional amounts. That difference is an unrealized foreign exchange gain or loss.
NetSuite handles revaluation through Transactions > Financial > Revalue Open Foreign Currency Balances. Run this process before finalizing the bank reconciliation for any foreign currency account. The steps are:
After revaluation, the reconciliation screen for the foreign currency account will show the functional currency balance adjusted to the current rate. The reconciliation itself is still performed in the foreign currency: you match the foreign currency amount on the bank statement to the foreign currency amount of each GL transaction. The functional currency revaluation entry is a separate, non-reconciling item that adjusts the GL balance but has no bank statement counterpart.
A structured close sequence prevents the most common period-end failures: reconciling the wrong statement date, closing a period before all transactions are posted, and losing the sign-off record. The following checklist covers the reconciliation-specific steps within a broader month-end close.
After all bank accounts are reconciled, lock the accounting period via Setup > Accounting > Manage Accounting Periods. Select the period, click “Close,” and set it to “All Locked.” This prevents any further posting to the period, including by administrators, unless the period is explicitly reopened with controller approval. NetSuite logs the lock action with a timestamp and user record.
A practical sequencing note: lock sub-periods (AP, AR, Payroll) before locking the master period. If your organization uses NetSuite OneWorld across multiple subsidiaries, each subsidiary’s period must be locked individually before the parent consolidation period can be locked.

Even well-configured environments produce reconciliation exceptions. The following are the issues teams encounter most often, with the diagnostic path for each.
Symptom: the same payment appears twice in the uncleared GL transaction list. Cause: the payment was entered manually and also imported through an integration (for example, a payment processor sync that ran twice, or a bill payment entered by accounts payable after an automated sync had already created it). Fix: void one of the duplicate transactions after confirming with AP which posting is the source of record. Do not simply delete; voiding preserves the audit trail. After voiding, re-run auto-match.
Symptom: the “Last Updated” timestamp on the Manage Bank Feeds screen is several days stale. Causes: bank changed its authentication handshake (common after online banking platform upgrades), or the credential token expired. Fix: go to Manage Bank Feeds, select the affected account, and click “Re-authenticate.” Complete the bank’s MFA flow. If re-authentication fails, contact your NetSuite administrator or work with a NetSuite managed services partner to raise a case with the bank feed aggregation provider, providing the institution name and the account identifier.
Symptom: you have matched all items but the reconciliation screen shows a non-zero difference. Common causes:
Symptom: a check that cleared the bank in the current period has no GL match because it was voided or deleted in a prior closed period. Fix: reopen the prior period (with controller approval), restore or re-post the original transaction, re-close the prior period, and then match the cleared transaction in the current reconciliation. Avoid creating a new payment transaction in the current period to “compensate” for the missing one, as that double-counts the cash outflow.
Symptom: the bank reconciliation report for a closed period shows a different ending balance than the trial balance for the same account and date. Cause: a journal entry was posted to the account in the closed period after reconciliation was finalized, either through an integration that bypassed the period lock or through an administrator override. The Bank Reconciliation Discrepancy report (Reports > Banking) identifies all such post-reconciliation postings. Reverse or reclassify those entries and re-run the reconciliation report to confirm agreement.
How does NetSuite bank reconciliation differ from a manual spreadsheet reconciliation?
NetSuite stores both the bank statement data and the GL transactions in the same database, so the matching engine can apply configurable rules automatically rather than requiring manual row-by-row comparison. It also creates an immutable sign-off record linked to the user account, which a spreadsheet cannot provide. The result is faster reconciliation with a built-in audit trail that requires no additional documentation.
Can NetSuite reconcile credit card accounts the same way as bank accounts?
Yes. Credit card accounts set up as “Credit Card” type in the chart of accounts appear in the reconciliation module the same way as bank accounts. The statement ending balance is typically a liability (credit) balance rather than an asset balance, but the matching and sign-off workflow is identical. Bank feed connectivity is also supported for major credit card issuers.
What happens to uncleared items when I close a period?
Uncleared items remain in the outstanding transaction pool and carry forward into the next reconciliation period automatically. NetSuite does not require you to clear every item before closing a period, only before marking an individual reconciliation session as complete. Outstanding checks and deposits in transit appear in the next month’s reconciliation session so you can clear them when the bank processes them.
How long does it take to set up a bank feed in NetSuite?
For a supported institution, the initial setup takes between 10 and 30 minutes: enabling the SuiteApp, authenticating with the bank, and mapping the account to the GL. Historical transaction import (typically 90 days of history is available at connection) takes a few minutes to process. The first automatic daily feed update runs the following business day.
Does NetSuite support multi-subsidiary bank reconciliation in OneWorld?
Yes. Each subsidiary has its own chart of accounts and bank accounts within OneWorld. Reconciliation is performed at the subsidiary level, with each account reconciled in its own currency and functional currency. The parent entity’s consolidation reports aggregate the reconciled balances across subsidiaries. Period locking must be done subsidiary by subsidiary before the parent period can be locked.
What role permissions are needed to complete a bank reconciliation in NetSuite?
The user completing the reconciliation needs the “Reconcile Bank Statement” permission set to “Full” under the Banking permission group. Creating journal entries during reconciliation also requires the “Journal Entry” permission. Period locking requires the “Manage Accounting Periods” permission, which is typically restricted to controllers and finance managers. Separating the reconciler role from the period-lock role satisfies most segregation-of-duties requirements.
Getting bank reconciliation right in NetSuite requires correct feed setup, tuned matching rules, and a disciplined period-close sequence. Our team helps finance teams configure and validate each of those steps so month-end close runs on schedule with a clean audit trail.
Book a free consultationNetSuite bank reconciliation covers the full range from simple single-currency checking accounts to multi-subsidiary foreign currency operations, and the platform handles the accounting mechanics of each case natively. The difference between a four-day close and a two-day close usually comes down to three things: a reliable bank feed that requires no manual file handling, matching rules tuned tightly enough to clear 85 to 90 percent of transactions automatically, and a close checklist that sequences revaluation, revenue posting, and reconciliation sign-off in the right order. Teams that invest the setup time upfront typically see reconciliation time per account drop from two to three hours to under 30 minutes, and the immutable sign-off records make both internal and external audit significantly less labor-intensive.
Tell us what you are working through and a senior architect from our team will get back to you with a straight answer, usually within a couple of working days. No bot, no hard sell.
A senior architect will get back to you at , usually within a couple of working days. Worth checking your spam folder, just in case.
Connect Zoho Desk with Slack for real-time ticket alerts, SLA breach escalations, channel-per-department routing, and…

Zoho People for India: leave management, attendance tracking, onboarding workflows, performance appraisals, and Zoho Payroll…

The UAE e-invoicing transaction type code is an 8-bit binary flag on every invoice. Understand…
Tell us what you are actually trying to do. You will get a straight answer from a senior architect who has done this before, not a sales rep.
A senior architect will get back to you at , usually within a couple of working days. Worth checking your spam folder, just in case.
Ask it now and a senior architect will get back to you, usually within a couple of working days. It goes to our team, not a mailing list.
A senior architect will get back to you at , usually within a couple of working days. Worth checking your spam folder, just in case.